-

- Forums
- Chatrooms
- Gallery
- Gameplay Videos
- Upload
- Articles
- Mod Reviews
- Shop SP: Games, Movies, Books
|
|
| Bard's Tale 3 Remastered Online Walkthrough by David Milward |
Lucencia | Violet Mountain, Level 1 | Violet Mountain, Level 2 | Cyanis' Tower | Alliria's Tomb, Level 1 | Alliria's Tomb, Level 2 |
Cyanis' Tower
Divine Intervention
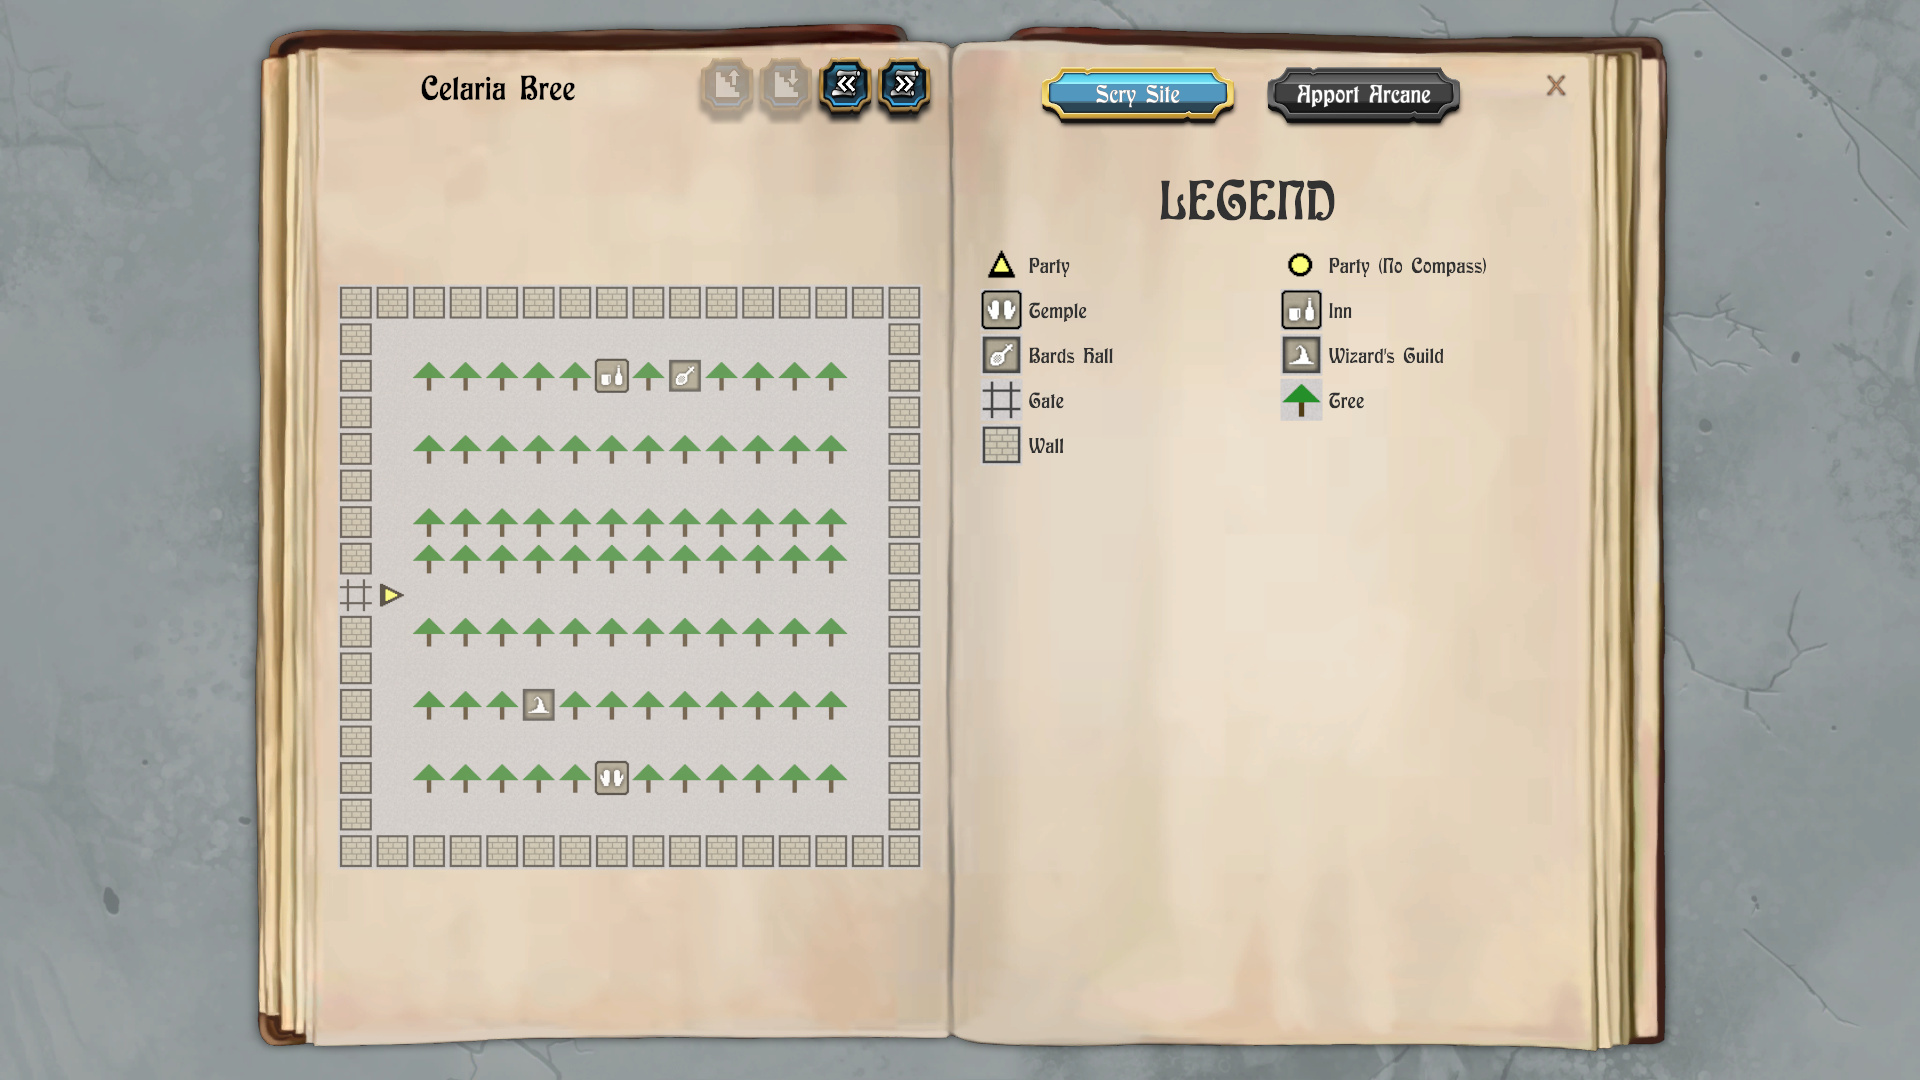
I return to Celaria Bree, and go to the Wizard's Tower at the southern
part of the town. Everybody goes up two levels besides Ariel, who goes up
only one. Lord Stygar, Ariel, Cassandra and Mordred emphasize +1 Luck to
improve the power of their magical attacks. Zarathos emphasizes +1
Dexterity to improve his AC. Talia has already maxed out all of her
attributes, while Gallard at his point won't care which one gets raised.
Talia and Mordred both pay 50,000gp to learn the Divine Intervention
spell. It always, whether cast in combat or during exploration, restores
all Hit Points to all party members and cures any condition except
Withered.
When cast in combat it also unleashes Mangar's Mallet, improves To Hit by
8 points, and improves both saving throws and AC by 20 points.
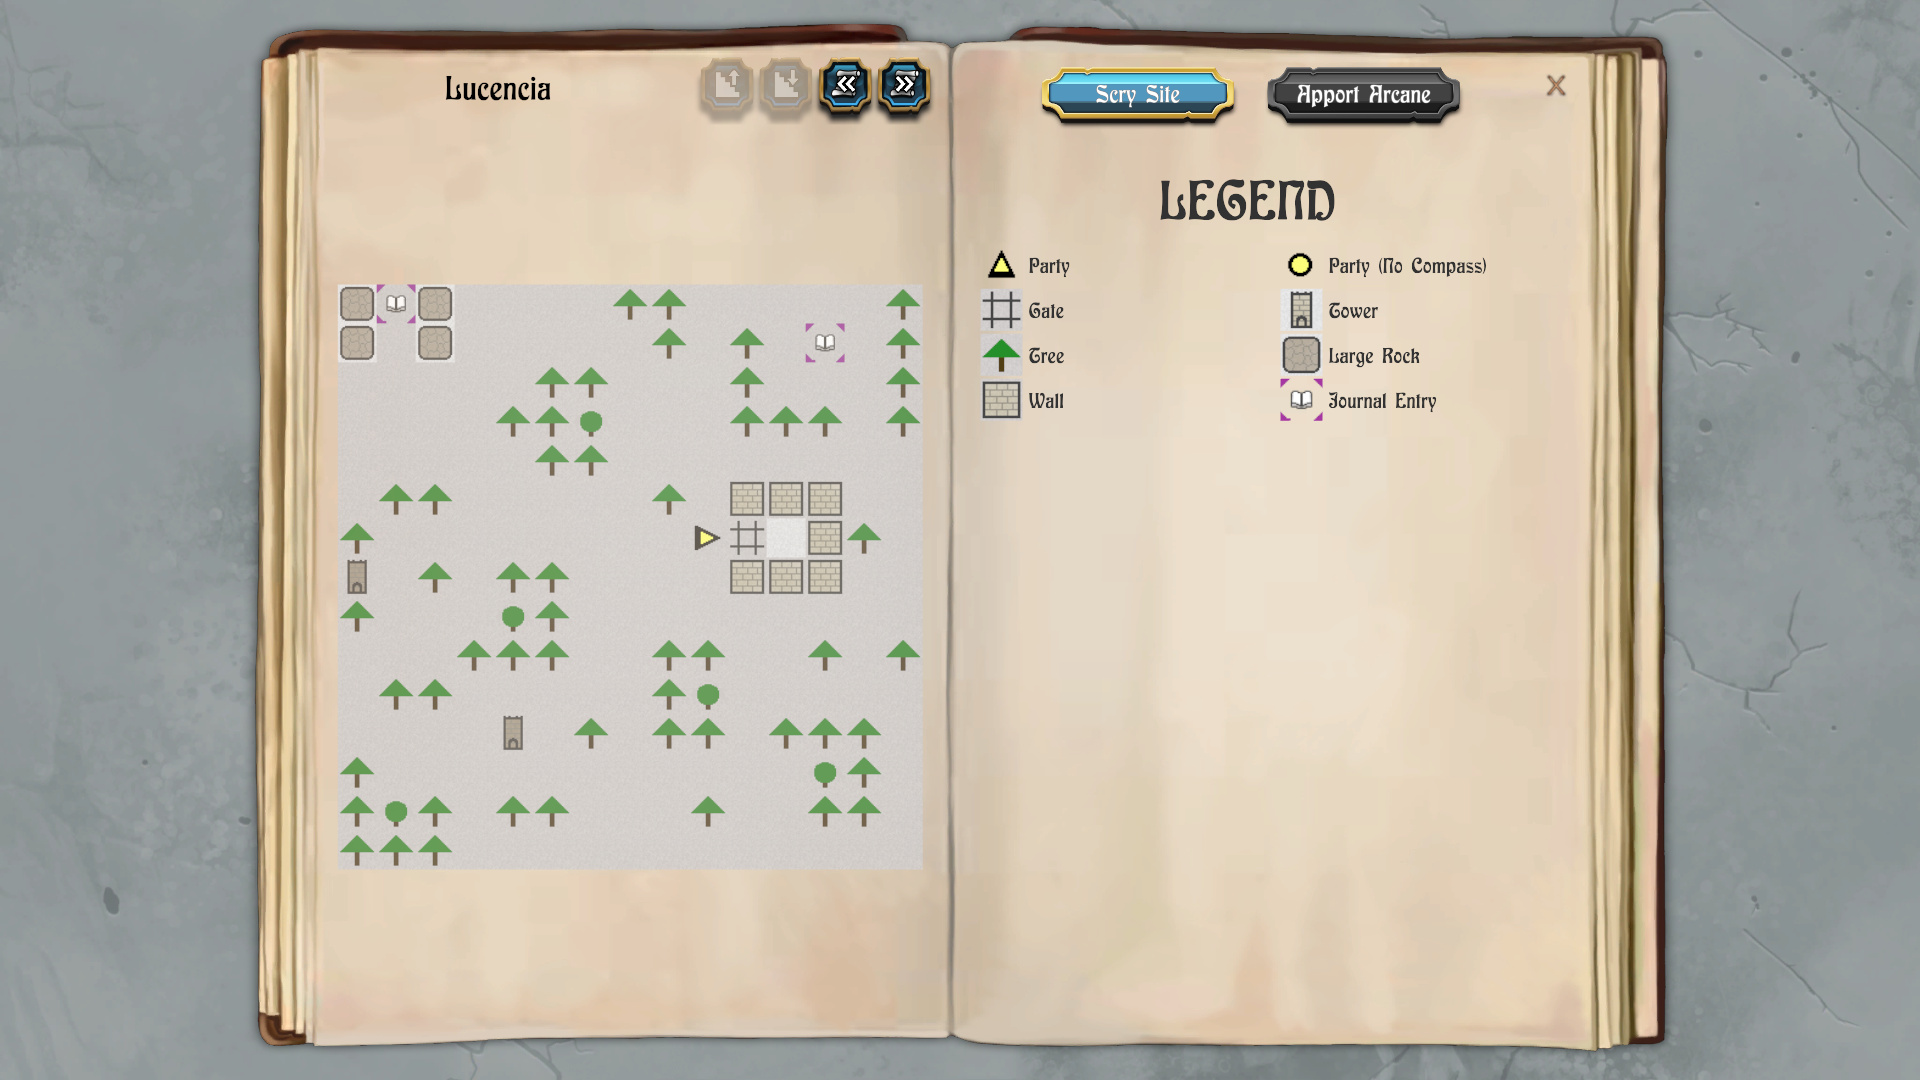
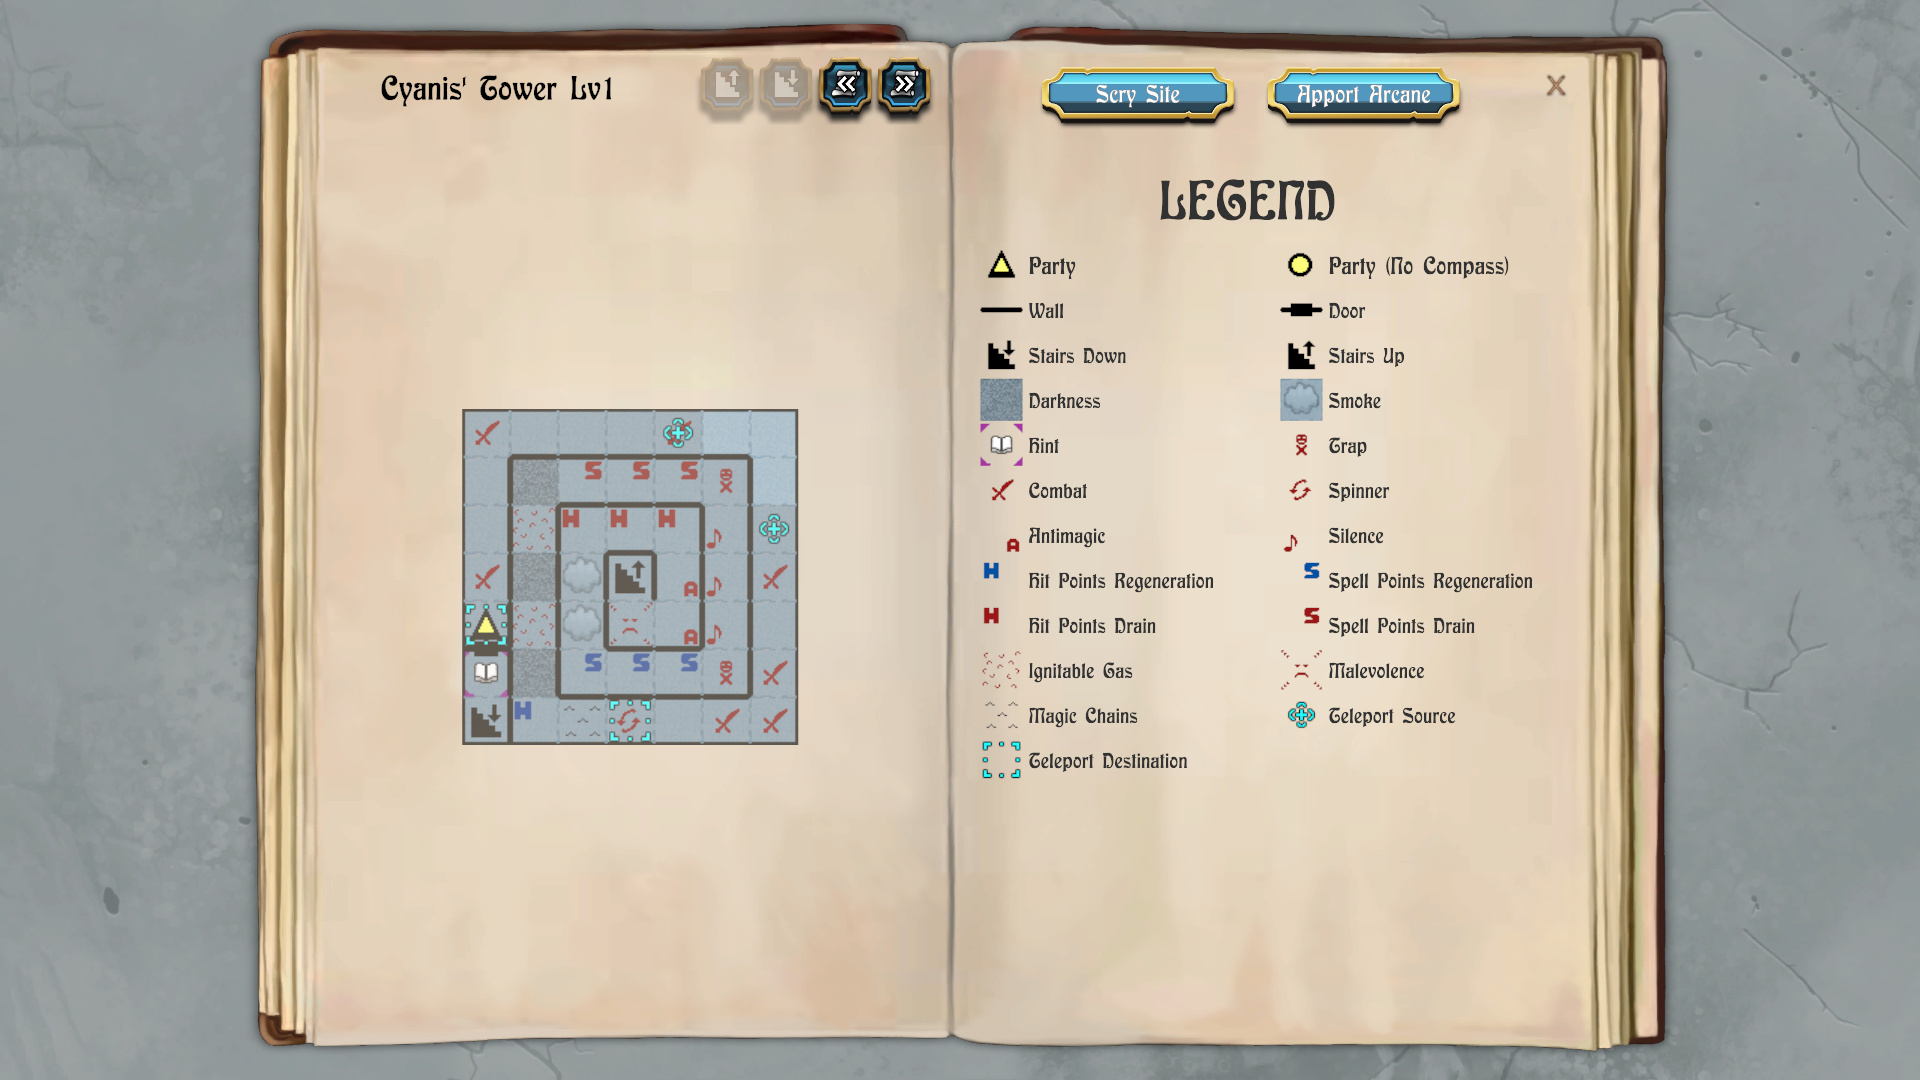
Now I journey to Cyanis' Tower, which is in the southwest corner of Lucencia.
First Level
I start off at 0N 0E on the map of the first level. I use the Crystal Key
at 1N 0E to open the door leading north.
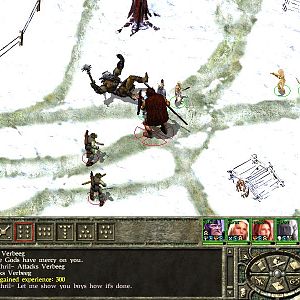
I take on a different kind of fighting style from this point onwards. Lord
Stygar will often use his Shadelance on the most numerous group,
especially if they are at a distance. Ariel frequently uses Kiel's
Overture, but sometimes she'll lead off with Spell Song if I have a sense
that the battle will be longer than usual. The two together often wear
down entire groups of monsters in at most two or three rounds. Cassandra
often leads off with the Invisibility Power from her Thieves' Hood in the
first round. She will use the Haltfoe power from her Red's Stiletto if
there are numerous foes within 20', to keep as many of them stun-locked
as she can. Talia and Mordred frequently use offensive spells if I think
Lord Stygar and Ariel could use the help, as their Figurines will allow
them to quickly replenish the Spell Points. Zarathos still attacks anyone
that gets close. Gallard still picks off single-foes at a distance,
preferably ones other than the group that Lord Stygar targets with his
Shadelance.
I win fights against random monsters at 3N 0E, 6N 0E and 6N 4E. I get
teleported to 0N 3E after the last fight.
I win fights against random monsters at 0N 5E, 0N 6E, 1N 6E and 3N 6E. The
teleporter at 4N 6E can take you to 2N 0E if you need to go back to the
stairs.
I make my way through a hallway that coils inwards, despite numerous
inconveniences along the way, before taking the stairs to the next level at
3N 3E.
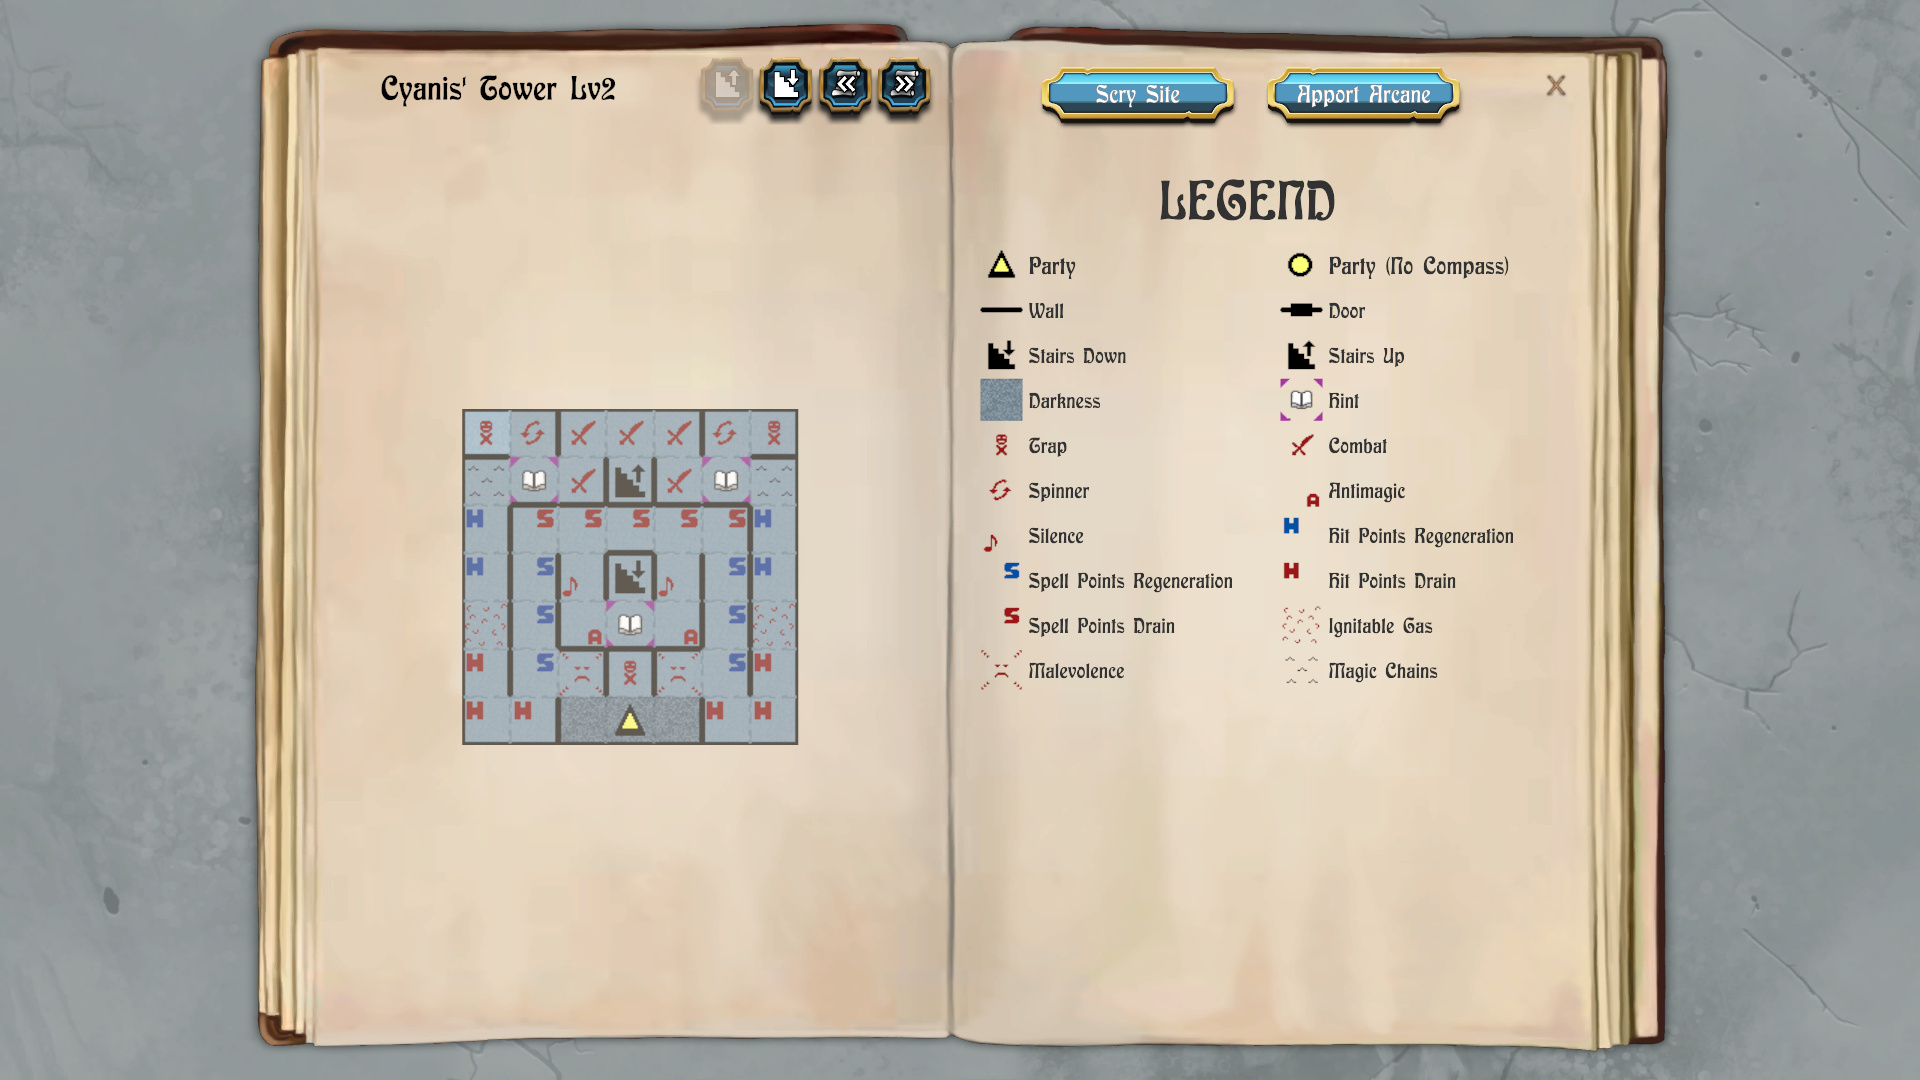
2nd Level
I go S E N N E and S from the stairs. That puts me clear of both the
silent squares and anti-magic squares near the stairs. I put my Shadow
Shield and Batchspell back up.
A statue of Cyanis is at 5N 5E. It portrays a handsome and intelligent
man, but the statue's eyes have been clawed out. I win fights against
random monsters 5N 4E, 6N 4E, 6N 3E, 6N 2E and 5N 2E.
A beautiful carved icon of Alliria is at 5N 1E. It has the word, "Beloved"
inscribed below it. The stairs to the next level is at 5N 3E.
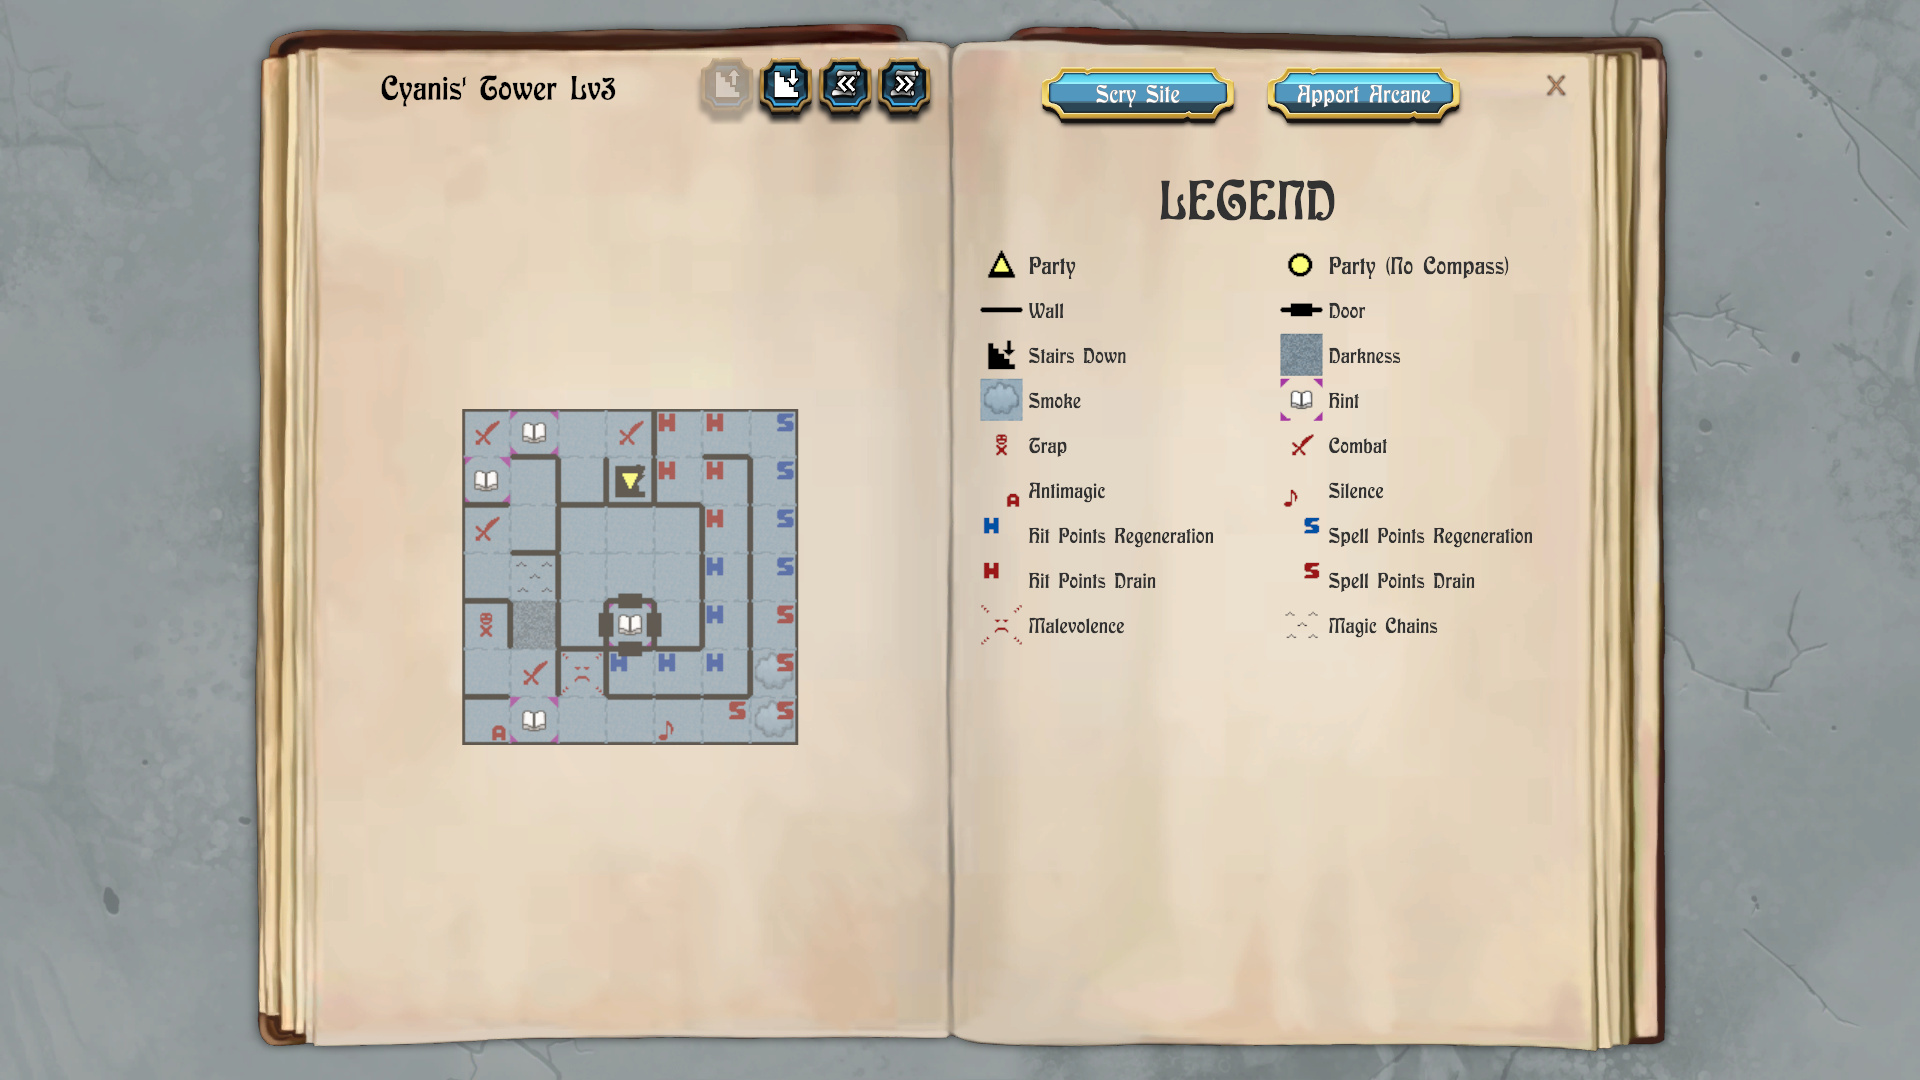
Cyanis
I win fights against random monsters at 6N 3E, 6N 0E and 4N 0E. I put a
light spell back up after crossing the dark square at 2N 1E.
There is an image of Hawkslayer at 0N 1E. I can also hear Cyanis' voice in
the distance crying: "Friend, why can you not save my beloved?" I win
another fight against random monsters at 1N 1E. I put my Rhyme of Duotime
back up after crossing the silent square at 0N 4E.
What follows is an extended hallway that has Spell Point draining squares
followed by Spell Point replenishing squares, and then Hit Point draining
squares followed by Hit Point restoring squares.
The warrior-prince named Cyanis is at 2N 3E. He's a complete wreck and
sobbing uncontrollably underneath a painting of Alliria. Any spell that
will restore a party member's sanity, such as Restoration or Heal All, can
be used here to restore Cyanis' own sanity.
He then explains: "I want to thank you for ridding me of this madness that
I have had to endure. Alliria was murdered many moons ago by something far
more powerful than anything she has ever fought. Tarjan tortured her
before she died and I was forced to watch this happen. Her screams drove
me insane for I couldn't do anything to save her."
He also gives the party a Magic Triangle. *Note* I go back down by foot,
doing all the fights on the second and first levels all over again, but
without showing it in any video.
A Bard can use the Magic Triangle to open the way to Alliria's
Tomb, which is my next destination.