-

- Forums
- Chatrooms
- Gallery
- Gameplay Videos
- Upload
- Articles
- Mod Reviews
- Shop SP: Games, Movies, Books
|
|
Gelidia | Ice Keep | Black Tower | White Tower | Grey Tower | Ice Dungeon |
Black Tower
Black Wall
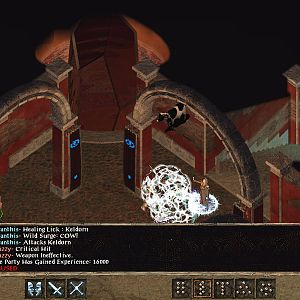
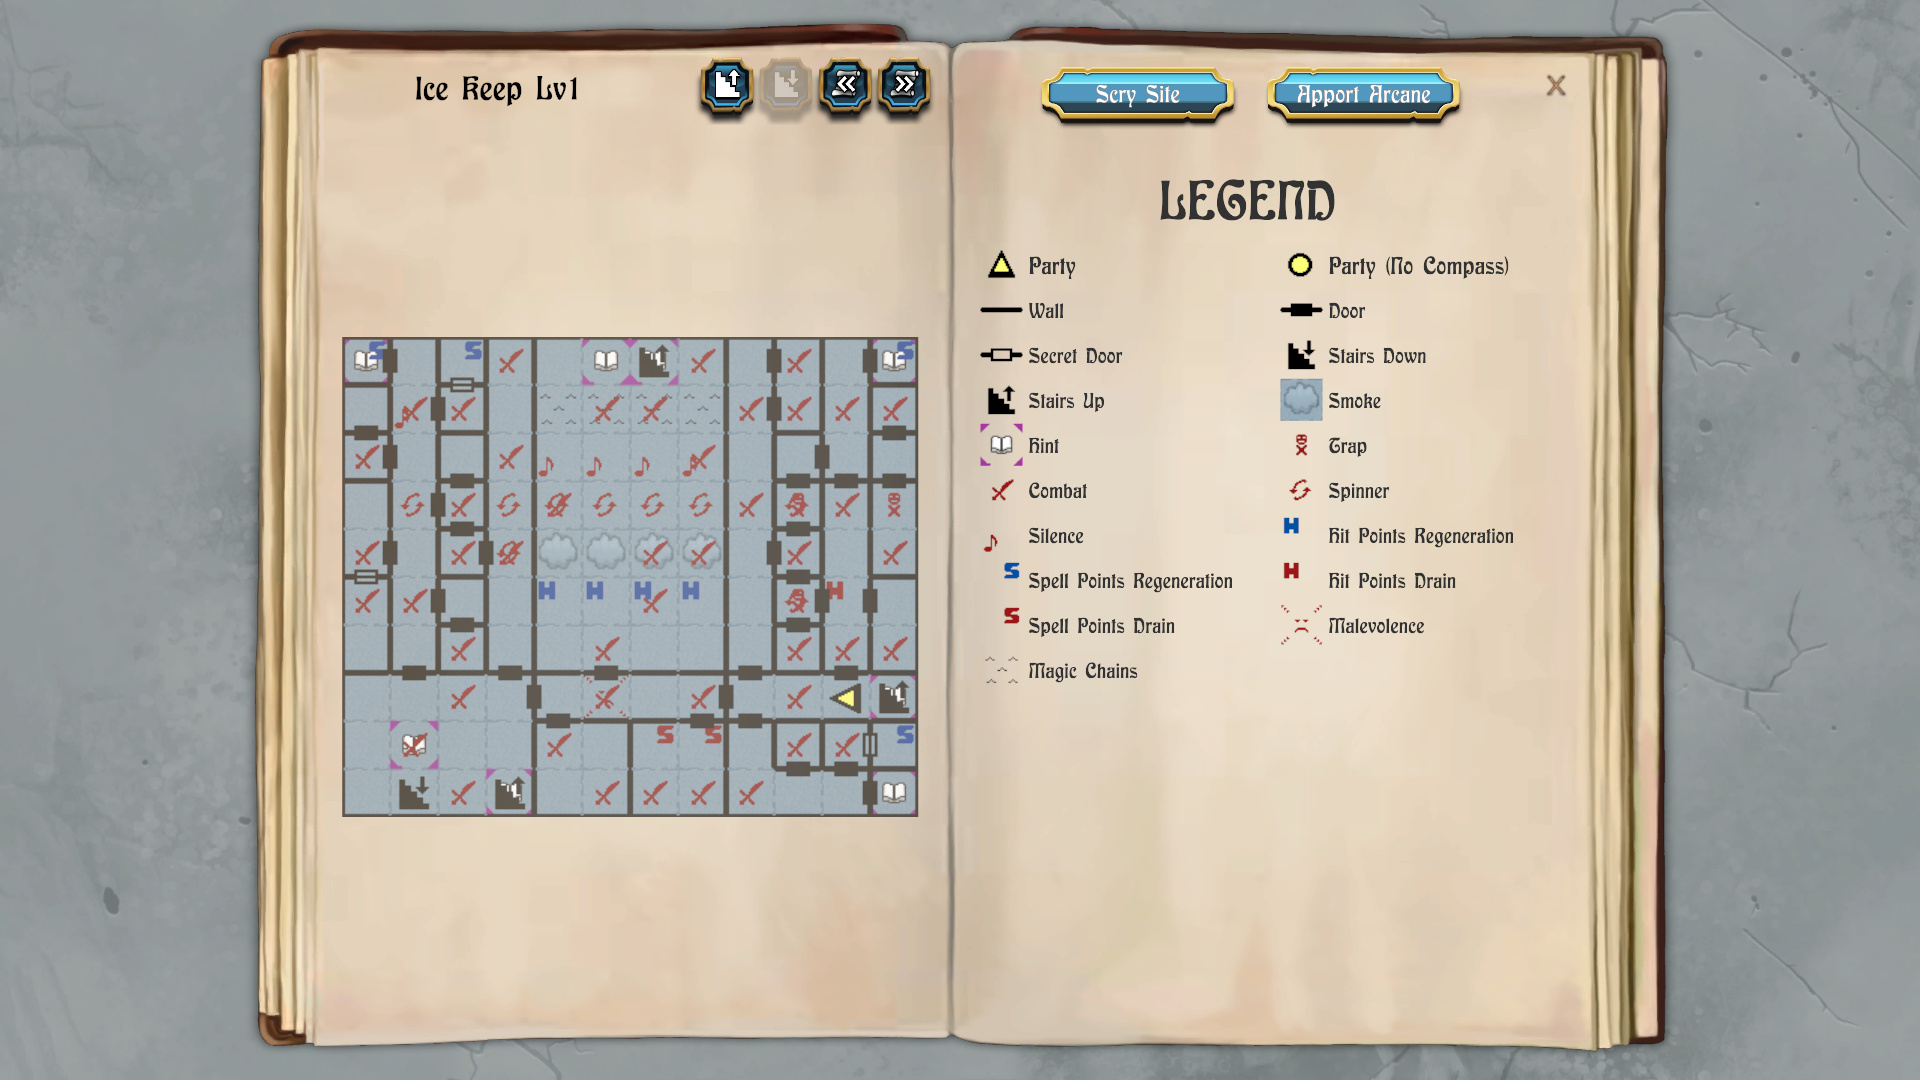
Now I battle random monsters in the southeast corner of the first level of the Keep, with fights at 2N 9E, 0N 8E, 1N 9E and 1N 10E. I recharge my Spell Points at 1N 11E.
There's a black wall at 0N 11E. A scrawling on the wall reads: "Bright light, Loud thunder, Whispered terror term, Flaming guide to lead the way, Join the wall, Then no one will be the wall."
Remember the clue from Alendar's Diary about how only the proper spells can get past the wards? I cast the following spells in sequence: Greater Revelation, Shock Sphere, Word of Fear, Summon Elemental and Baylor's Spell Bind. The wall absorbs each spell in turn until it dissipates, revealing the stairs to the Black Tower.
1st Staff of Mangar
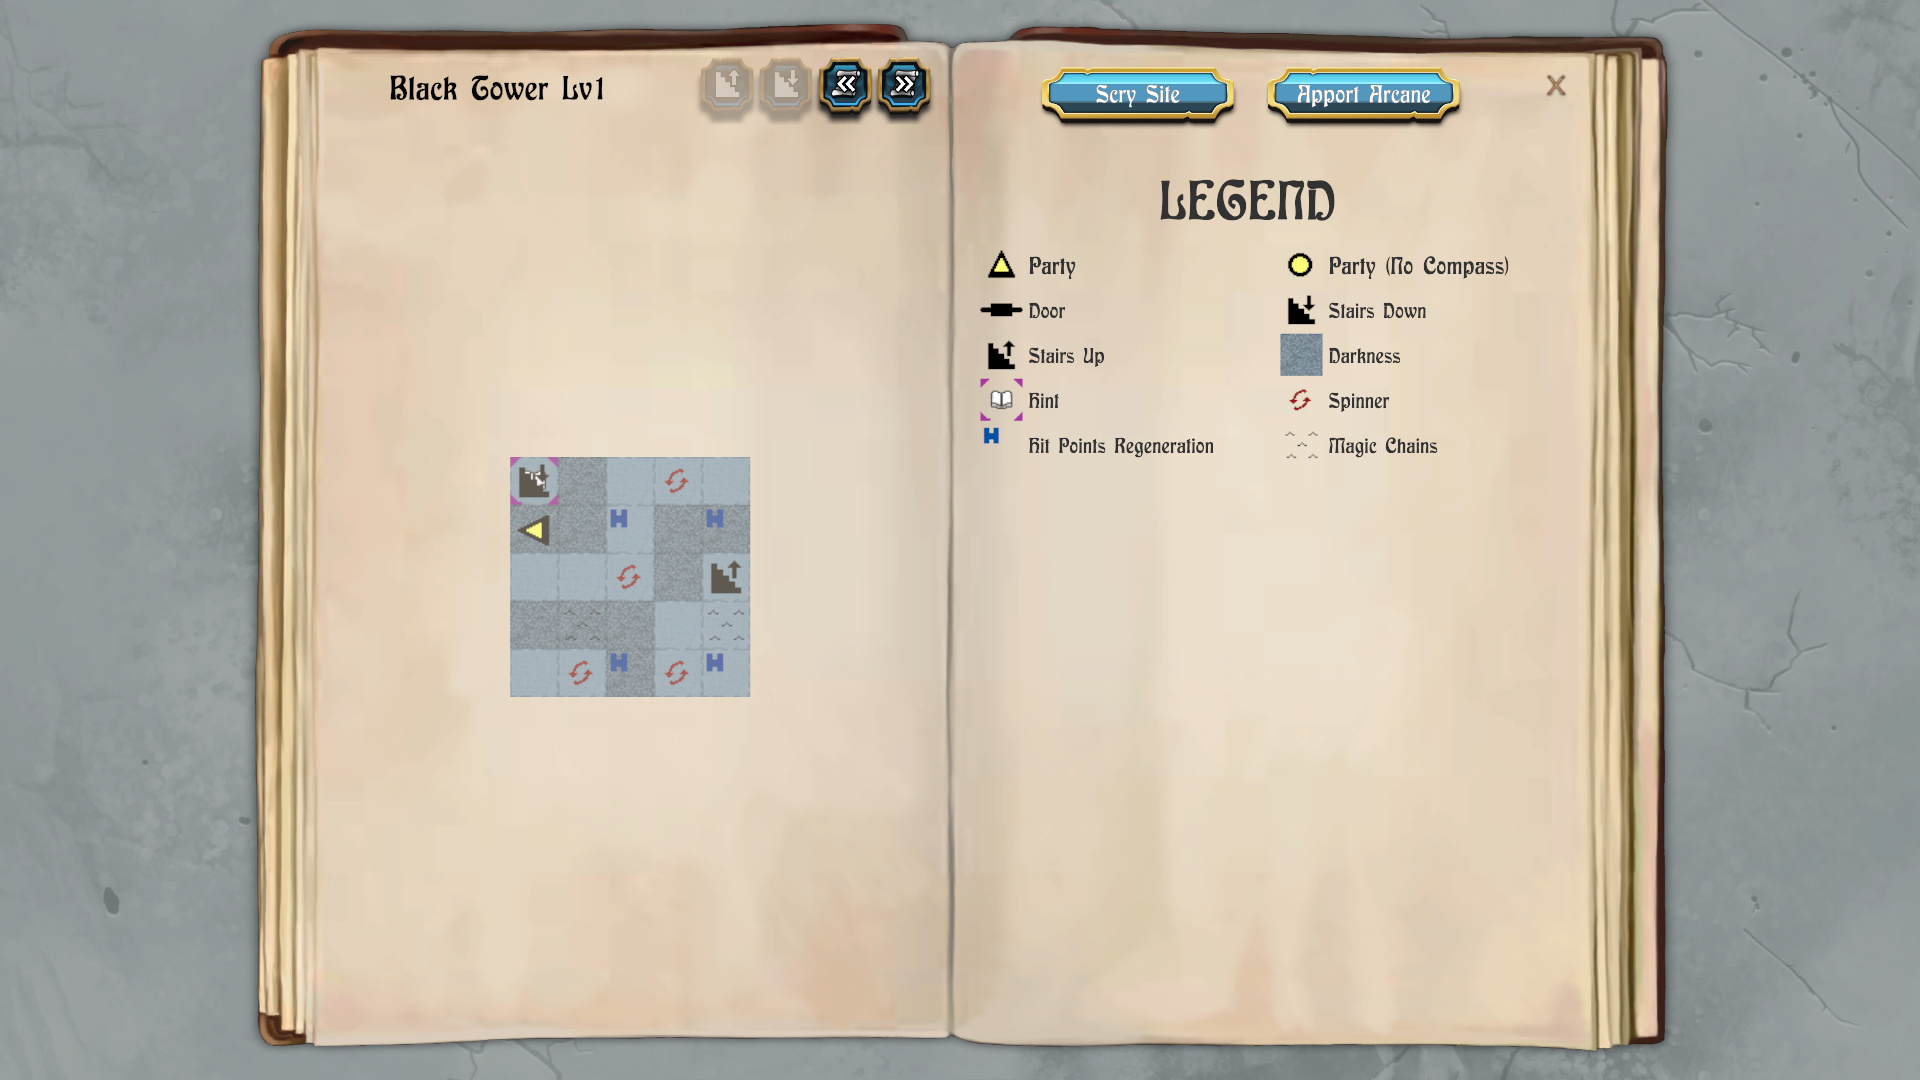
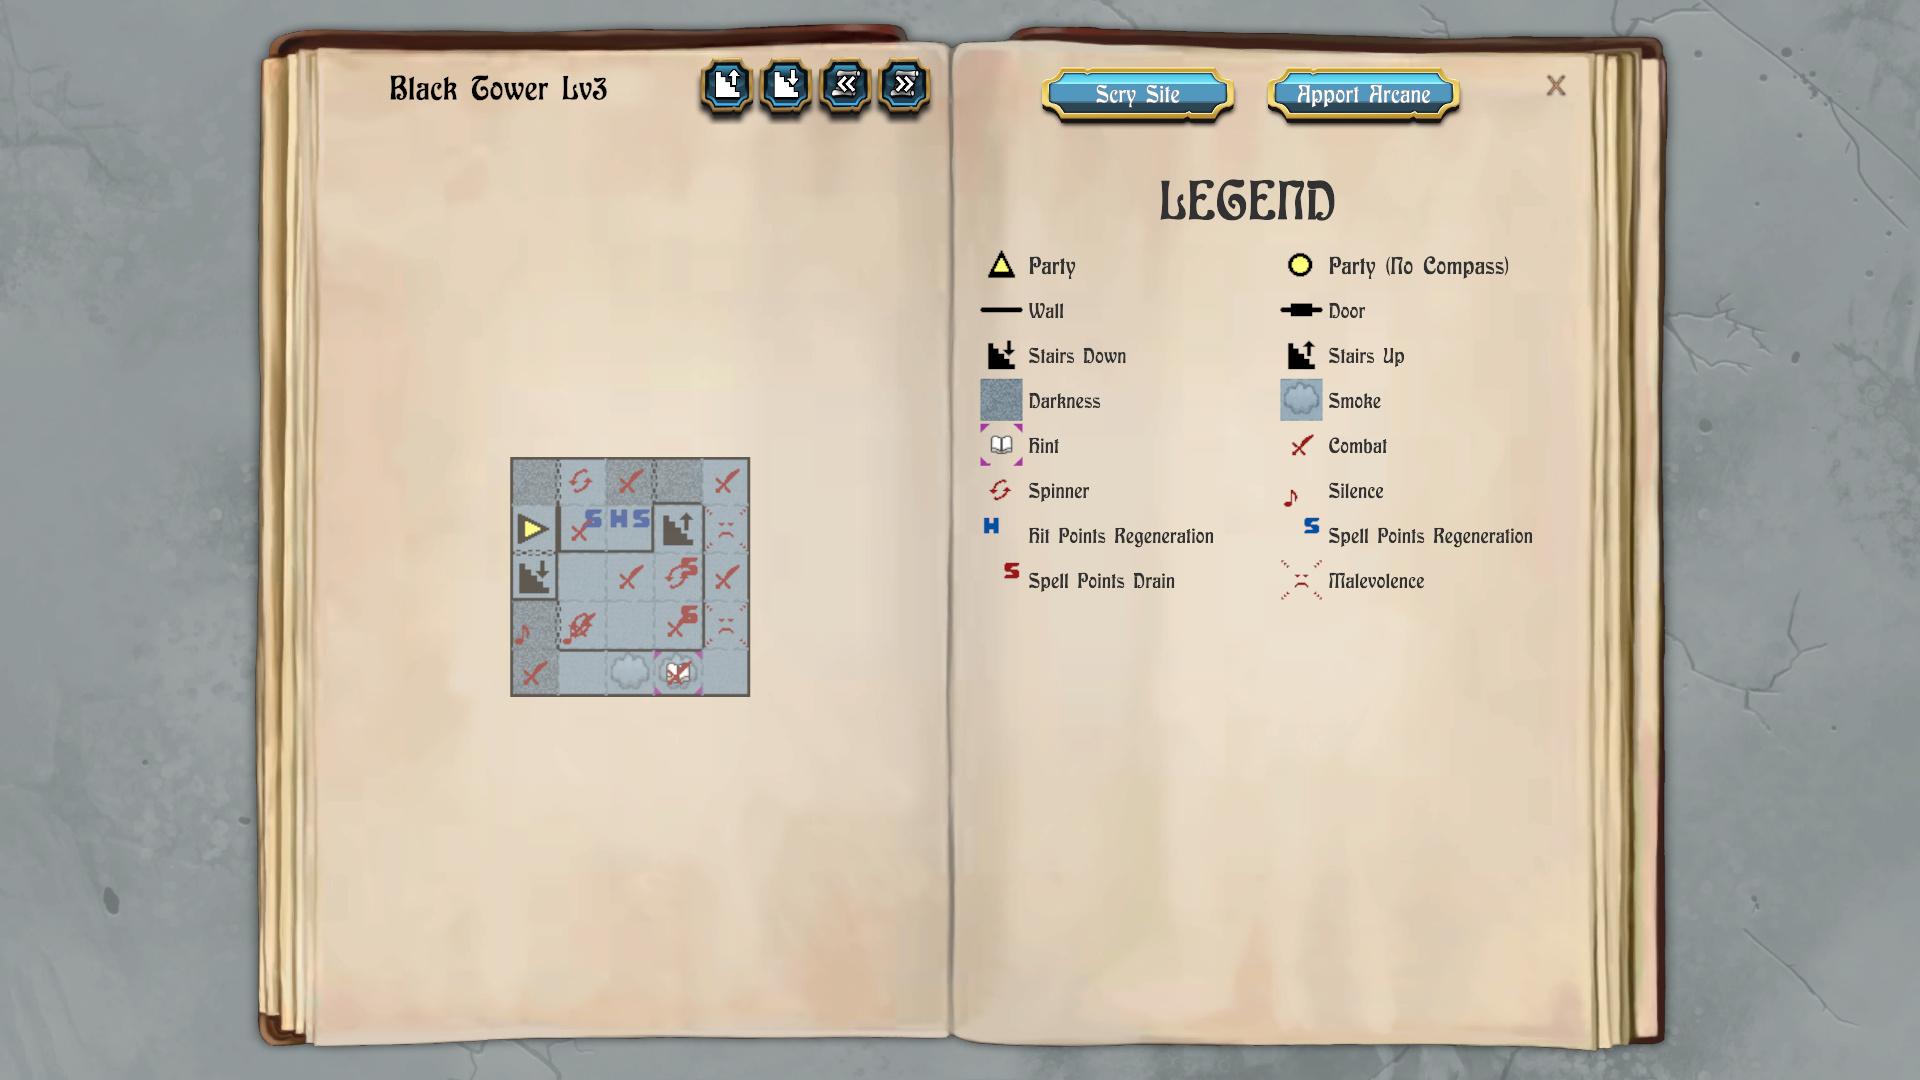
I start off at 4N 0E on the map of the first level of the Black Tower. There is nothing of value that is worth bothering with on this level, so I simply go two squares south and one square west to reach the stairs to the next level at 2N 4E.
This level has plenty of dark squares and traps and one-way walls. I go two squares west, face north, and then use Trap Zap to get rid of a couple of traps.
I win fights against random monsters at 3N 3E and 3N 4E. I go north to loop around to the south edge of the level, and then win fights against random monsters at 0N 4E and 1N 3E.
I get a Staff of Mangar after one of the fights. It's basically the equivalent of a Conjurstaff, but with more damage, better AC and better To Hit. I have Talia equip it.
From there I go one square west and two squares south to win a fight against random monsters at 4N 2E. I continue past one-way walls by going S W W and N to win another fight against random monsters at 4N 0E.
I continue through one-way walls and loop around to the southwest corner by going W N and E. I win another couple of fights against random monsters at 1N 0E and 1N 1E.
The stairs to the next level are at 2N 0E.
Stealth Arrows
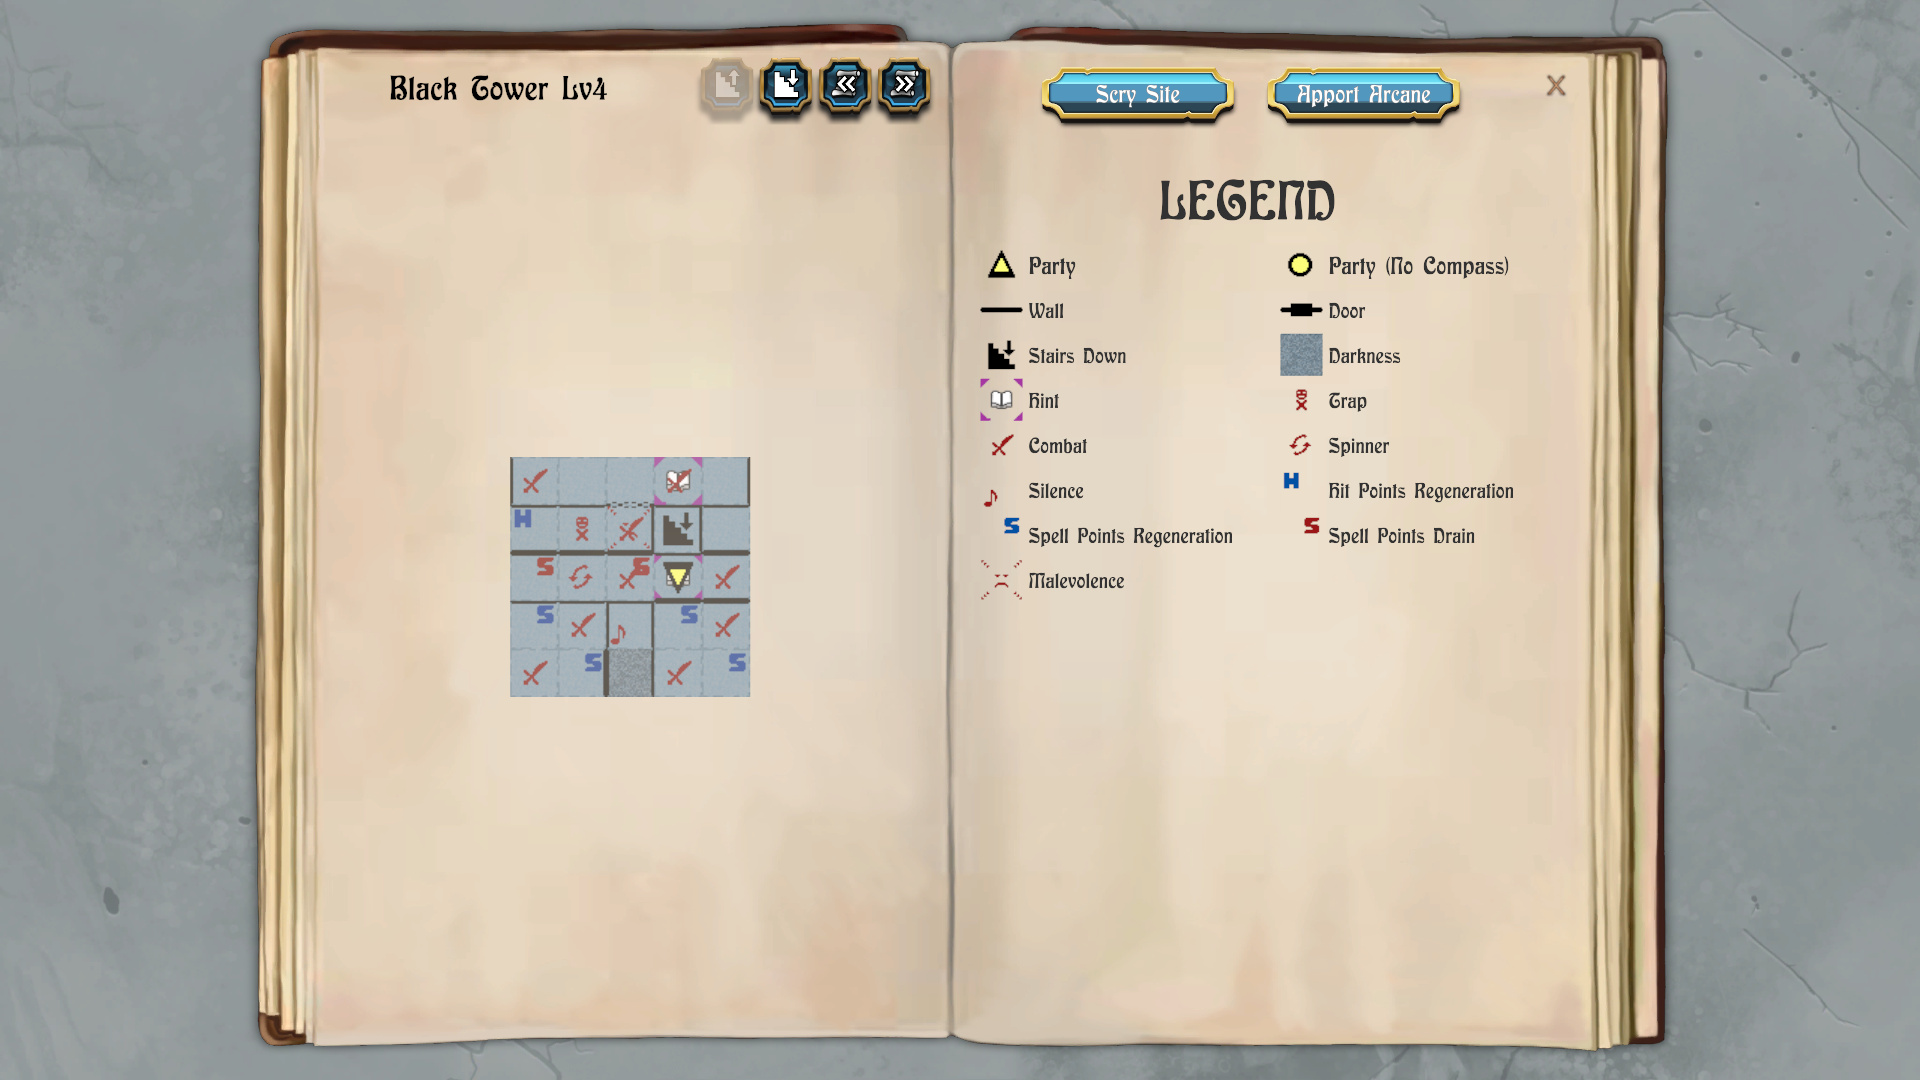
I north and east a little to win a fight against random monsters at 3N 1E. A square at 3N 2E regenerates both Hit Points and Spell Points, so I sit on it until everyone is fully replenished.
I win fights against random monsters 4N 2E and 4N 4E. Mordred puts up a Batchspell once I'm past the dark squares.
Now I go around the edge and win fights against random monsters at 2N 4E, 0N 3E and 0N 0E. I get some Stealth Arrows after the last fight. I never use them as missile weapons. Their real value is that they provide a 2 point improvement to AC for a Hunter (and only Hunters), even if he doesn't have a bow equipped. Gallard equips the arrows for the rest of the game.
A dark square at 1N 0E also snuffs out Bard songs. I go another square east of it, which is also a silent square, but I win the fight against random monsters there. I go another square north and have Ariel put her Traveller's Tune back up. Mordred also uses his Eternal Torch.
I win another two fights against random monsters at 2N 2E and 1N 3E. The stairs to the fourth level are at 3N 3E.
Steady Eye
I win fights against random monsters at 2N 2E and 2N 4E. I can't avoid the silent square at 1N 2E and the dark square at 0N 2E, since going through them is the only way to make progress. I use the Eternal Torch and have Ariel put her Traveller's Tune back up once I go past the squares, and loop around to reach 4N 2E.
I win fights against random monsters at 3N 2E and 4N 0E. I loop around back to the south edge by going one square north and then winning fights against random monsters at 0N 0E.
I get a Steady Eye after the last fight. Gallard as a Hunter equips it to replace his Elf Cloak, and with a 1 point improvement to AC.
I next sit on the Spell Point-regenerating square at 1N 0E, aided by Ariel's Rhyme of Duotime, until both Talia and Mordred are fully recharged.
Black Wizards
I win a fight against random monsters at 1N 1E. I go two squares west to loop around to the east edge. I next win fights against random monsters at 1N 4E and 0N 3E.
I next go one square south to loop around to 4N 3E. Now I have to fight five Black Wizards. They aren't much trouble since I can both resist their spells as I close in, and kill off any Slayers they try to put up in front of me. They leave behind a Black Lens, which I take into my inventory.
I go one square south to reach the stairs to the third level.
1st Titanium Plate
I do all the fights random monsters over again on the third level, but in reverse direction as I make my way to the stairs to the second level.
I get a Titanium Plate after one of the fights. Zarathos equips it for a 2 point improvement to AC.
*Note* I don't show it in the videos, but I also do all the fights on the second level over again before descending to the first level and then leaving the Tower completely.
The White Tower is my next destination.