-

- Forums
- Chatrooms
- Gallery
- Gameplay Videos
- Upload
- Articles
- Mod Reviews
- Shop SP: Games, Movies, Books
|
|
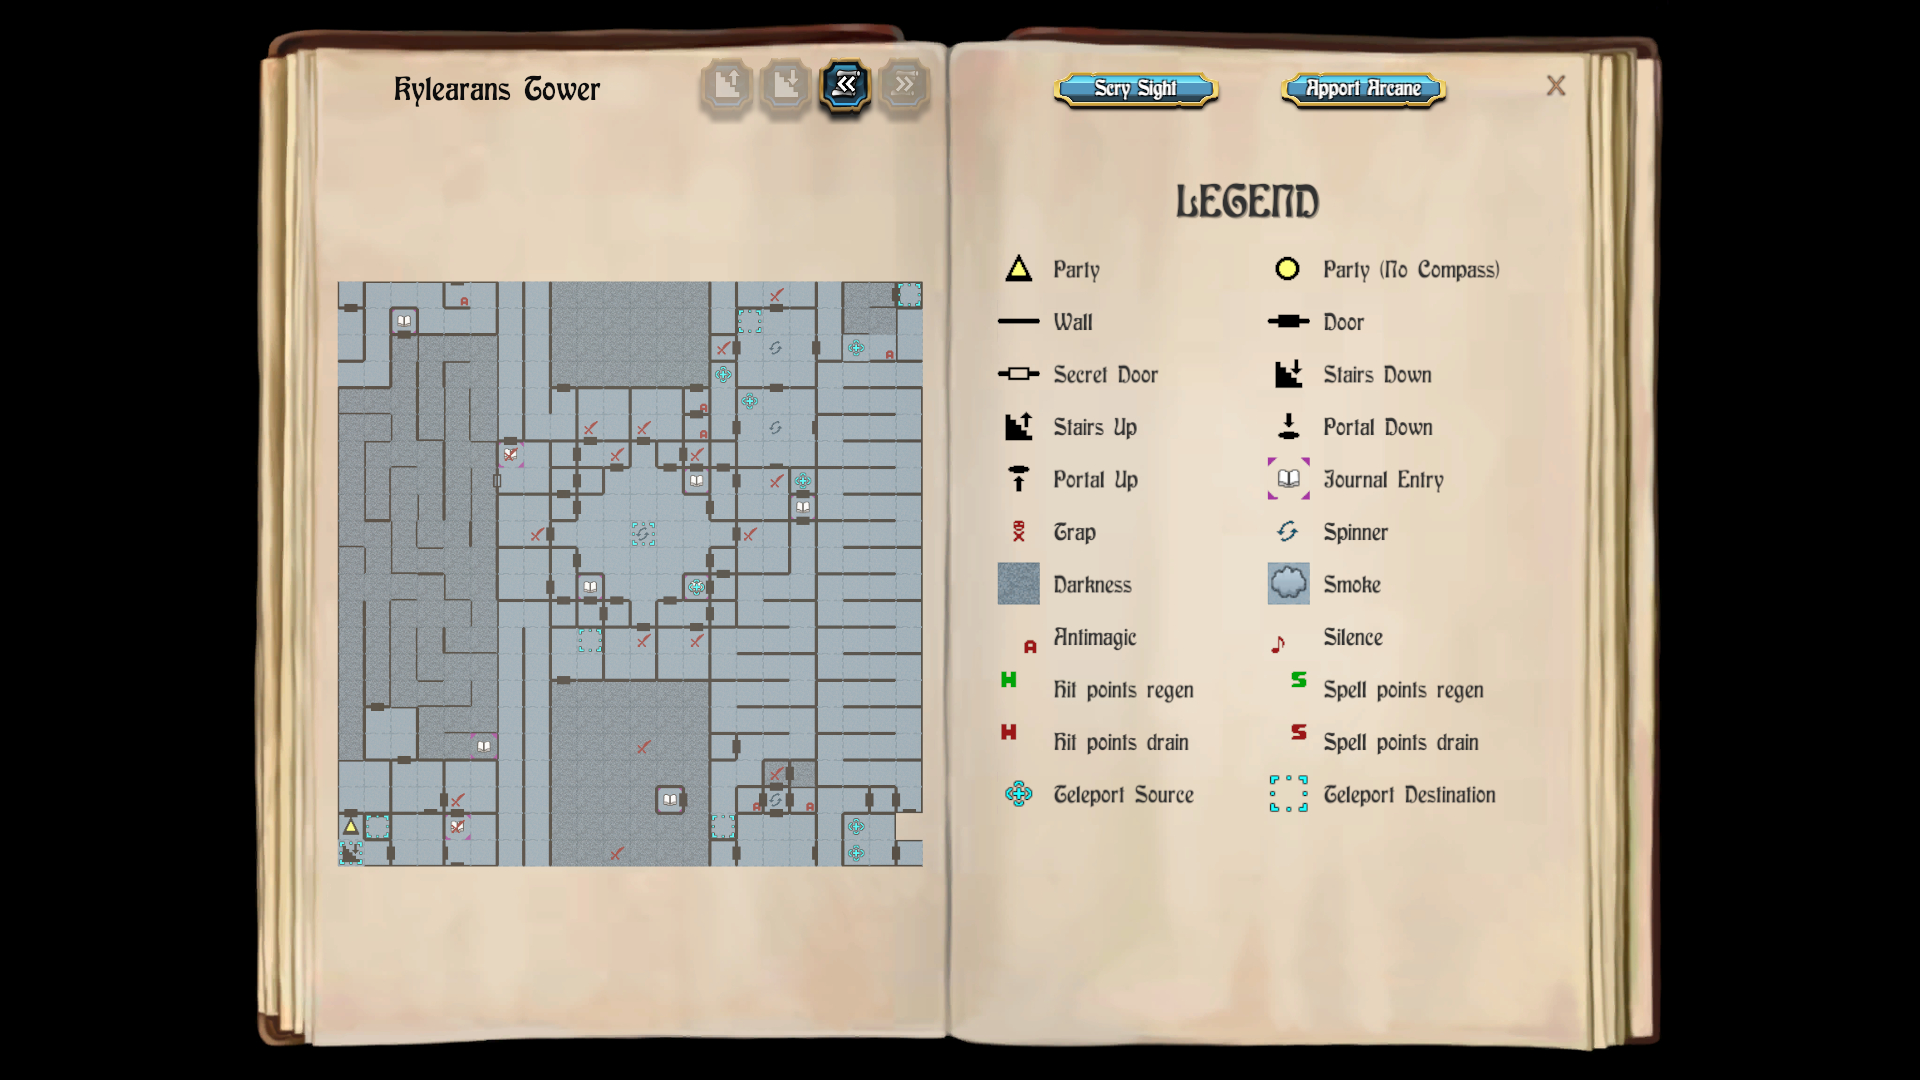
KYLEARAN'S TOWER
*NOTE* Do NOT come here without the Crystal Sword from the first level of the Castle. There's a very specific reason why described below.
Beyond that, I need to acquire two items here. One of those items is the Silver Triangle, which is found partway through the Tower. The other is the Onyx Key, which is a reward for when you find the Wizard who resides in the tower.
New monsters and new items are available, but given the very real risks of getting stuck permanently barring reloading a savegame or a Safety Spell, I clearly do not want to use the Tower for grinding purposes. I intend to make this my one and only visit, getting the two crucial items I need and never returning.
However, I did get a few items I was on the lookout for along the way. They were a Diamond Shield for Zarathos, a Thief Dagger for Talia, a Diamond Dagger for Gallard, and a Mage Staff for Talia.
1st Diamond Shield
There is a door in each of the four directions upon entering the Tower. I go through the one to the west. The room itself has two teleporters. I take the one at 1N 19E.
It brings me to 21N 21E. I follow the hallway to its end, through the dark squares and the anti-magic square at 19N 20E. I next take the teleporter at 19N 19E.
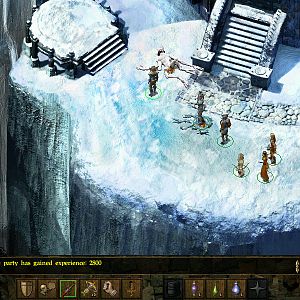
That takes me to a spinner square at 12N 11E, but it's easy enough to step off it and get your bearings back. I start doing the fights against random monsters in the surrounding rooms, starting with the ones at 12N 15E and 14N 16.
I get a Diamond Shield after the fight at 15N 13E. Zarathos equips it for a 1 point improvement to AC (Lord Stygar will get a different one).
A clue at 14N 13E reads: "Made of earth, Yet without soul, As living stone, He is whole". I thereafter return to the central hub.
Thief Dagger
I continue with the fights at 16N 11E, 15N 10E and 16N 9E.
I get a Thief Dagger after the fight at 12N 7E. Cassandra equips it for the rest of the game, as it provides an additional bonus to her Hiding skill.
Golem Riddle
At 10N 9E is a clue: 'As a guardian he must walk... The first part of his name means rock'. I then win the random fights at 8N 11E and 8N 13E.
A Magic Mouth at 10N 13E asks: 'Name the one of cold, foretold twofold:'. The correct answer is: 'Stone Golem'. I get teleported to 8N 9E.
Diamond Dagger
I go through the door to the south, which leads to a very large room filled with dark squares.
The fight against random monsters at 4N 11E yields a Diamond Dagger, which provides both a +4 attack bonus and a 4 point bonus to AC. Gallard equips it as a seamless improvement over his Shield Staff.
The Endless Byway
At 2N 12E is a magic mouth that asks for the name of the 'endless byway'. The correct answer is "Sinister", which results in opening a door that is needed to make progress.
I win the fight at 0N 11E, and then leave the dark room through the door at 18N 8E.
I now follow a very long hallway that goes some ways north and then some ways south. I eventually make my way to another fight against random monsters at 15N 6E.
Silver Triangle
I am at 14N 6E. I step west through the door, entering an extended network of hallways with dark squares.
I go N W S S S W N N N W N N N N and N through the door. At 20N 2E is the Silver Triangle, which like the Silver Square (and one more item later on) I'll need for the last level of the game.
Now I go S S S S S E S S S E S S E S S S W N W N W W S S S and S. I am at 6N 1E. I now go S through the door that was opened earlier by answering "Sinister" to the Magic Mouth.
1st Mage Staff
I go to 2N 4E and win the fight against random monsters there. I get a Mage Staff as a random drop once the fight ends. The staff itself passively recoups Spell Points over time. Talia equips it for the rest of the game.
Crystal Golem
I go through the door to the south to 1N 4E and finally get to fight the Crystal Golem that has been alluded to previously. It used to be good enough in the original games to just have the Crystal Sword in your inventory, and the Golem would stay dead. Not anymore. The only way to kill it permanently is for the character equipped with the Crystal Sword to use that sword to bring the Golem to 0 Hit Points. Anything else and the Golem will just reassemble itself.
Everybody else besides Lord Stygar and Ariel uses the Defend option. Ariel uses Seeker's Ballad every round, because the Golem also has a very good AC, and there's a real chance that Lord Stygar will miss with his attacks. In fact, he does miss the first round, but successfully kills the Golem during the second round.
I go south through the next door, and hit an anti-magic square. I go east off the square, and put my persistent spells back up. Now I follow the hallway west for a bit. It turns into a very lengthy and winding hallway on the east side of the level.
I follow it till its end, but I need to avoid another danger. At 1N 21E is another Stasis Chamber. And unlike the one in the Catacombs, you can't use Apport Arcane to escape. Your only way out is to reload a previous savegame.
I go through the west door instead of the south door leading to the stasis chamber. I end up in a random fight against a few monsters. I get a second Diamond Dagger when the fight is over. I'll sell it, with a view towards using it when the time comes to do the "Burger" fights.
I go on until I reach 19N 18E.
Spinner Rooms
I go west through the door and enter a series of adjoining rooms with Spinners in them. I do the fight against random monsters at 21N 16E.
I now go to the spinner at 2N 16E. I press left or right until my compass is pointing, and then I go win the fight against random monsters at 3N 16E.
I go back south past the spinner, and then win the fight against random monsters at 19N 14E.
I next go to the south room. Once there, I go the long way around to avoid both the spinner at 16N 16E and the teleporter at 17N 15E (which would simply teleport me three squares north).
My objective is to reach the teleporter at 18N 14E, which brings me to 1N 14E.
Kylearan
Now I travel the hallway until I reach its end at 13N 17E. There I meet Kylearan, the good Archmage of Skara Brae. He gives me the Onyx Key, which is one of the keys I need to be able to enter Mangar's Tower (more on the other key very soon).
I go north another square, and a teleporter brings me back to the stairs leaving the Tower.
Now I need to make my way to Mangar's Tower.