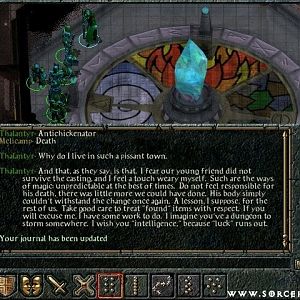
Here you'll have to fight Concelhaut, who has a new body since his
defeat in Pillars of Eternity 1, along with several Torn Bannermen.
There will be some conversation, but a fight becomes inevitable. Keep in
mind that a Sigil of Death will be to his left, and a Sigil of Atrophy
will be to his right. You can either try to lead him and his forces away
from the sigils, or otherwise protect your party with the appropriate Wardstones beforehand. Avoid using
single-target spells on him, since he starts off with a long-lasting
reflection spell. I recommend maximizing your Defenses to the extent you
can and taking out his minions first. He'll be significantly easier to
deal with after that. You can also use summoned creatures to distract
him and absorb some of his spells.
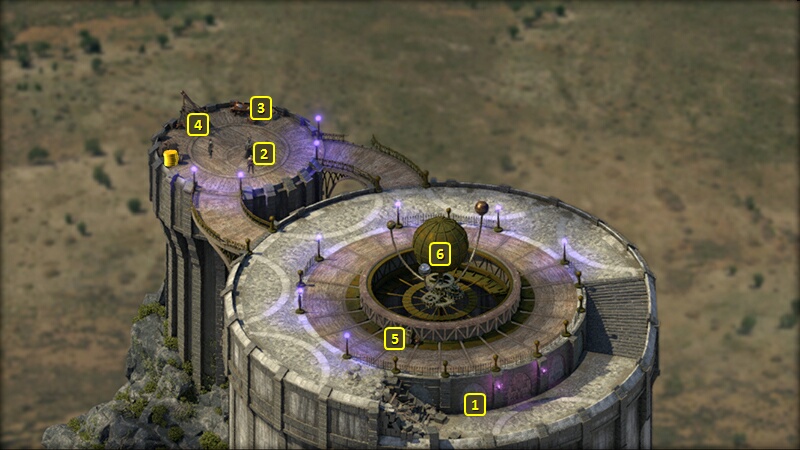
Concelhaut himself leaves two distinctive items. One is the Iron-Clasped
Grimoire, which includes the unique spell called Concelhaut's
Crushing Doom. The other is his Skull,
which functions as a Pet.
Taog, one of Concelhaut's warriors, leaves behind Boots
of Speed and a Great Sword called Effort.
They also include The Panther
from the nearby table at #3.
Once you've found all four constellations with the telescope, your
Watcher character will learn the coordinates for The Huntress
constellations to use on the console at #5.
Using the console here requires learning the coordinates for The
Huntress constellations from the telescope at #4. The Watcher can enter
the coordinates in the console after that, and cause all the prongs of
the device at #6 to align and reveal the items contained within.
Entering the coordinates for The Huntress constellation at the console
at #5 causes the prongs of this device to align together. A capsule of
the device will then open to reveal Bekarna's
Research, as well as A Whale of a
Wand.
Obtaining the former item is a key objective of the Quest called Bekarna's
Folly.
Sorcerer's
Place is a project run entirely by fans and for fans. Maintaining
Sorcerer's Place and a stable environment for all our hosted sites requires a substantial amount of our time and funds on a regular basis, so please consider supporting us to keep the site up & running smoothly. Thank you!
Supporting Sorcerer's Place
Has Sorcerer's Place been useful? If you'd like to show your appreciation
for our hard work on the site, and help us pay the bills the site generates
every month, please consider helping support SP.
Thank you!